:::Crimson:::
This tut was written by Juicy Bits on September 17, 2010 was written for those familiar with the language and workings of PSP and PSP tutorials.
This tut was written with PSP X2 Ultimate, but can easily be adjusted for any version.
Supplies Needed
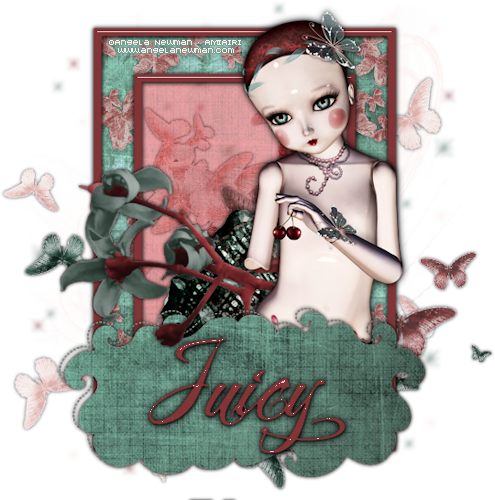
"Octavia" tube by Juicy Bits
"Crimson & Coal" scrap kit by Veronica Spriggs
{(1) Frame, (1-2) Papers, Glitter Spray, (2) Flowers, (2) Ribbons, Flourish, Elements as desired.}
Mask of choice
Instructions:
Open a 700x700 transparent image.
Open your supplies & tube. Shift - D and minimize. Close all original files.
Take desired frame (resize if desired or needed) copy and paste as a new layer.
Place/Rotate as desired.
Go to your bottom layer. Paste tube as new layer. Place off to the right.Go to your frame layer.
Re-paste tube as a new layer and resize slightly as desired.
Go to your frame layer. Use your magic wand to click inside your frame.
Expand selection by seven. Go to the bottom tube layer. Invert selection and delete.
Go to your bottom layer. Paste paper of choice as new layer. Go back to frame.
Select area inside frame. Expand by 7 pixels and return to paper layer. Invert selection and delete.
Go to your framed tube layer and set opacity to 50. Add any desired shadow and merge down to paper layer.
Go to your top tube layer. Duplicate and set top layer to Multiply, Opacity (30) Merge Down.
Go to your paper layer. Paste doodle as new layer. Resize as desired.
Place. Duplicate, mirror & flip. Merge down set blend to Soft Light.
Go to frame layer. Click inside the frame and expand selection by seven.
Return to doodles, invert selection and delete.
Go to your bottom layer. Paste Glitter as new layer. Resize as desired.
Go to bottom layer. Either floodfill with desired color or paste paper as new layer.
Apply desired mask.
Go to your glitter layer. Paste flowers as new layers. Resize as needed and place as desired.
Paste ribbon as new layer. Go to frame layer. Paste 2nd ribbon as new layer. Resize and place as desired.
Go to layer below your paper layer. Add a new raster layer. Floodfill with black.
Go to paper layer and set opacity to 44. Merge down.
Go to your glitter layer. Paste your flourish as new layer.
Resize & place as desired
Add other elements as desired.
Resize all layers if desired. Lightly sharpen each layer as necessary.
Add desired shadow to layers. Merge visible.
Add credits & copyrights and save as a PNG.
Tut by ©JuicyBits 2010. Any similarity is purely coincidental. Do not redistribute or claim as own.
Copying or "Reproducing" and claiming as your own tut is STEALING and ILLEGAL.