"Vixen"
Tut written by Juicy Bits Nov 27, 2009. This tut was written PSPX2 and is written for those
familiar with the workings and language of PSP tutorials.
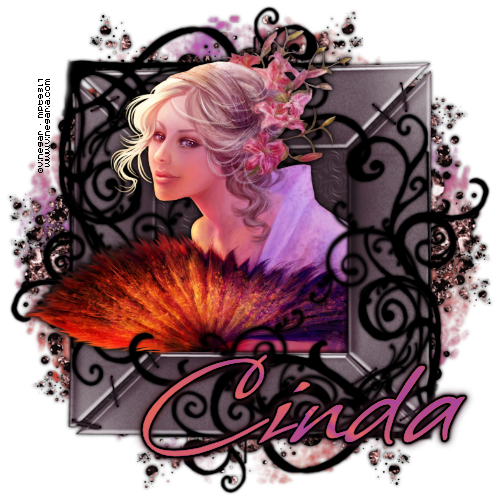
Vinyl Vixen by me
Mask of Choice
(You will need: (1) Paper, (1) Journal Tag, (1) Flower, (1) Flourish, (1) Frame,
(2) Bottle Caps, (1) Daisy Dukes (Hot Pants) or other desired element)
(You will need: (1) Paper, (1) Journal Tag, (1) Flower, (1) Flourish, (1) Frame,
(2) Bottle Caps, (1) Daisy Dukes (Hot Pants) or other desired element)
-Instructions-
1. Open your supplies and minimize. Open up a new 550 x 600 image.
2. Paste paper as new layer and resize as desired or to fit your image. Apply your mask.
Delete the mask layer. (click ok) and Ungroup layers.
You can now resize or manipulate as desired.
3. Paste your journal tag as a new layer. Free Rotate 90 degrees to the Right. Place as desired.
I placed mine in the center.
4. Go to your Mask Layer. Now paste your flourish as a new layer. Rotate & Resize as desired.
You may leave as is and go to step (5) or continue with the following alternative:
Focus your rotation and resize of the flourish only for the upper corner. Don't worry if it does not balance
out at the bottom. When you have it the way you want take your selection tool and
select the area starting at the same upper corner of the
JOURNAL TAG down to the bottom of the image. Hit Delete.
Go to your very bottom layer (this is an empty layer) and select all. Go back to your flourish layer.
Invert selection and hit delete.
(This should get rid of excess hang over - If your flourish deletes simply undo)
Now duplicate the flourish. Mirror and Flip. Readjust position if desired and Merge down.
(DO NOT MERGE ALL OR VISIBLE)...
5. Paste your frame as a new layer. (It will be between the journal tag and the flourish layers)
Resize and rotate as desired.
6. Paste flower as a new layer. Position in the same upper corner that your flourish is located.
Resize and place as desired. Duplicate layer, Mirror and Flip. Merge down to other flower.
7. Paste your bottle caps as new layers and place as desired so that they hang out a little from the Journal Tag.
8. Go to your Journal Tag. Paste your Hot Pants as a new layer. Add desired shadow.
Place your hot pants slightly over the clip (or bow or whatever if you are using a different kit)
Take your erase tool (size 5 or smaller) and carefully erase the parts that are over the clip.
This will give it the appearance of being underneath the clip.
9. Now paste your tube. Resize and place as desired.
10. Add shadows to all desired layers except your hotpants layer. Merge Visible and resize as desired or leave that size.
11. Add desired text and copyrights. Save as PNG..
Enjoy!...
Tut by ©JuicyBits 2009. Any similarity is purely coincidental. Do not redistribute or claim as your own.
Copying or 'Reproducing' and claiming as your own tut is STEALING and ILLEGAL.
Copying or 'Reproducing' and claiming as your own tut is STEALING and ILLEGAL.